Skip to content
Portfolio
spoonflower
Insta
Twitch
Visit the Store
About
Category:
sewing
Frozen in the Face of Fear
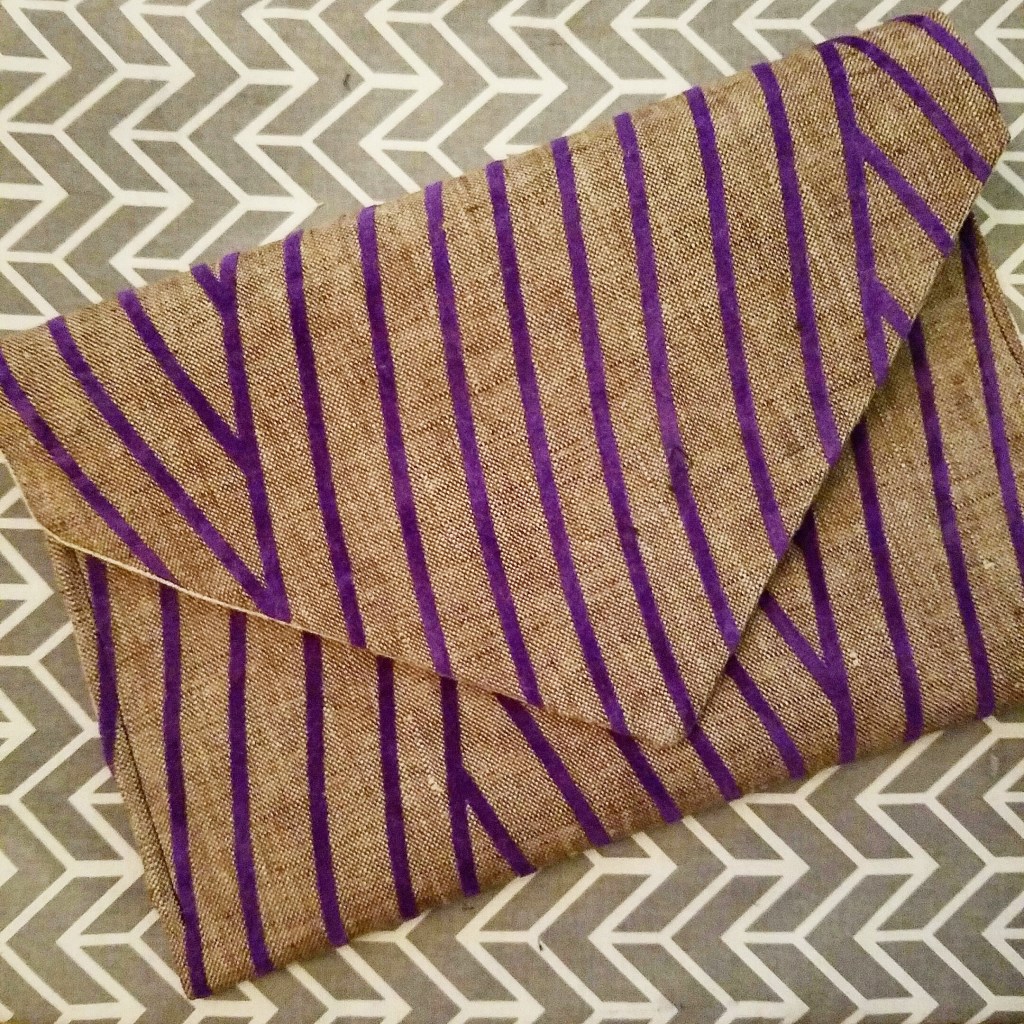
This Week… Interfacing and A Failed Hobo Bag
Finally!
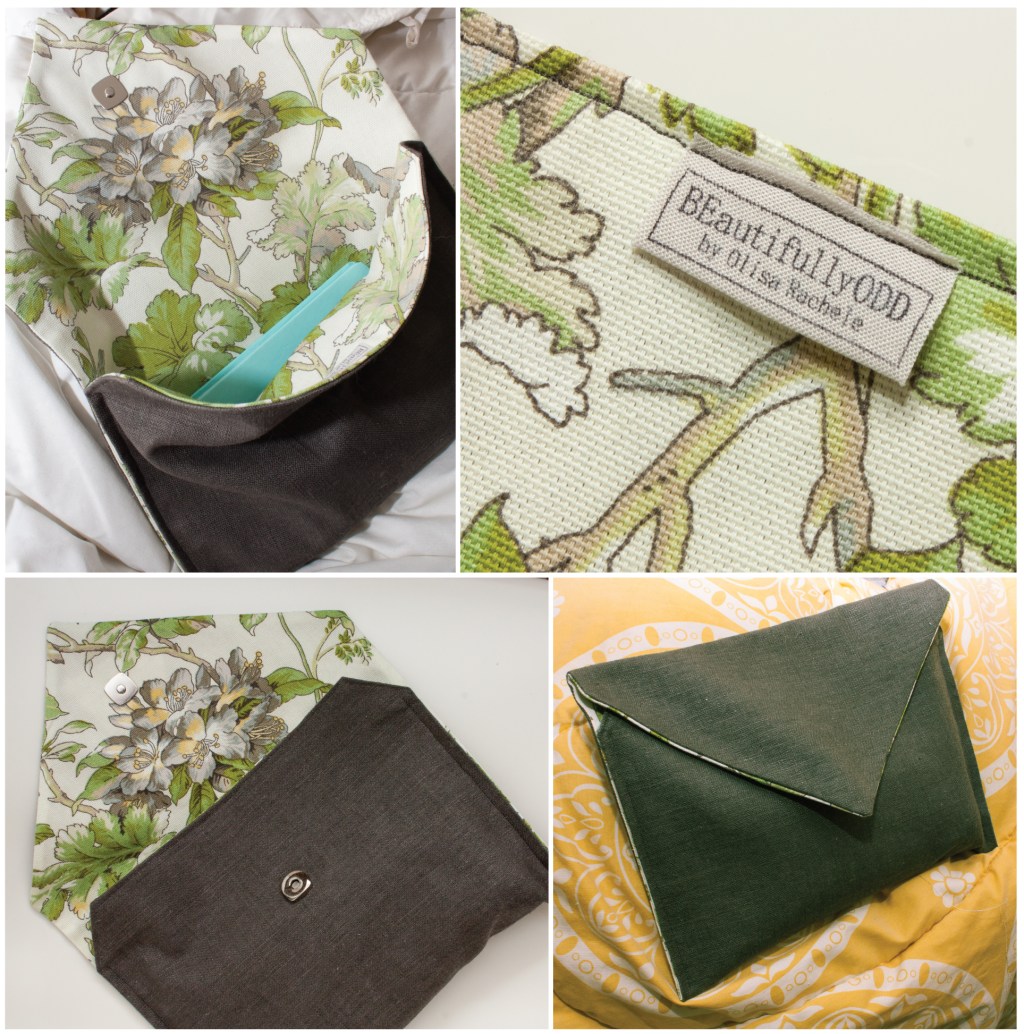
3 Attempts Later
Privacy & Cookies: This site uses cookies. By continuing to use this website, you agree to their use.
To find out more, including how to control cookies, see here:
Cookie Policy
Subscribe
Subscribed
BEautifullyODD
Join 27 other subscribers
Sign me up
Already have a WordPress.com account?
Log in now.
BEautifullyODD
Subscribe
Subscribed
Sign up
Log in
Report this content
View site in Reader
Manage subscriptions
Collapse this bar